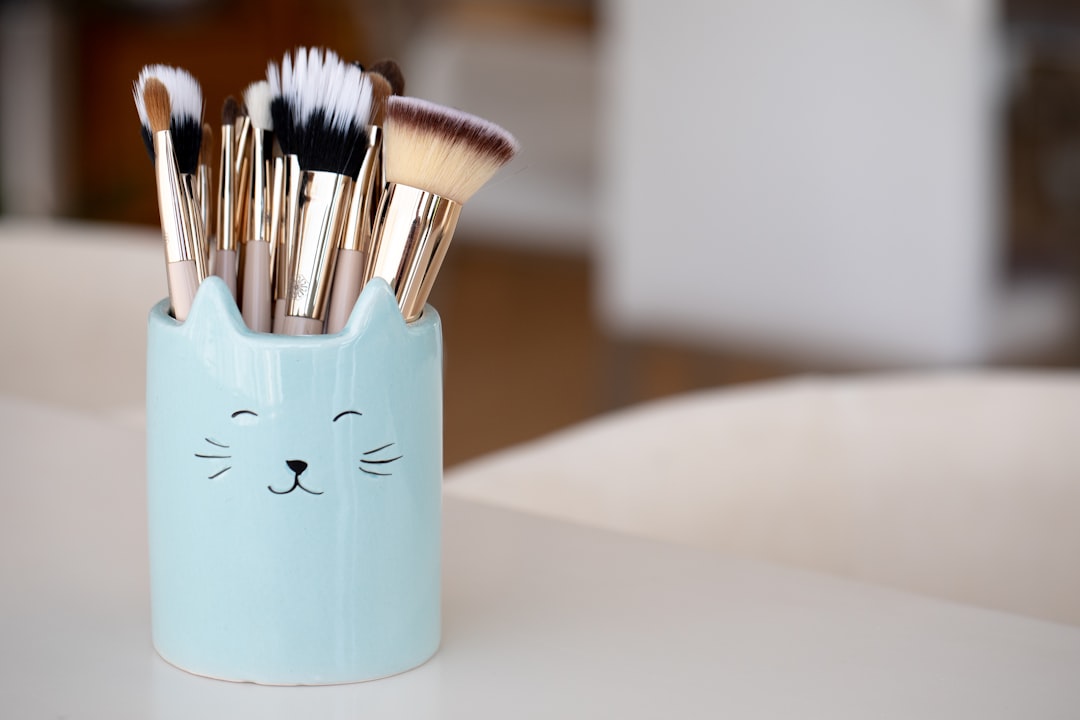
As professional visagistes, we know that even the highest quality makeup products can only perform their best when applied with the right tools. The difference between amateur and professional makeup application often comes down to the brushes used. In this comprehensive guide, we'll explore the essential makeup brushes every visagiste should have in their kit, explaining each brush's purpose, the best materials, and how to use them for optimal results.
Foundation Brushes: Creating the Perfect Canvas
1. Flat Foundation Brush
This classic brush features densely packed bristles with a flat, slightly rounded top.
- Best for: Liquid and cream foundations, especially when precise application is needed
- Ideal materials: Synthetic fibers that won't absorb product
- Professional technique: Use in downward strokes to minimize the appearance of facial hair and create an even finish
2. Buffing Foundation Brush
Features a dense, dome-shaped head with soft, rounded bristles.
- Best for: Liquid, cream, and powder foundations when a seamless, airbrushed finish is desired
- Ideal materials: Synthetic fibers for liquid/cream, synthetic-natural blend for powder
- Professional technique: Use in circular motions to buff product into the skin for a natural, pore-minimizing finish
3. Beauty Blender/Sponge
While not technically a brush, this tool is essential in every professional kit.
- Best for: Liquid and cream foundations when a buildable, natural finish is desired
- Professional technique: Use damp for sheerer coverage, bouncing (not dragging) onto skin to blend seamlessly
- Pro tip: Keep multiple sponges in your kit for different products to avoid cross-contamination
Concealer Brushes: Precision Is Key
1. Flat Concealer Brush
A smaller version of the flat foundation brush with a precise edge.
- Best for: Targeted concealing of blemishes and discoloration
- Ideal materials: Firm synthetic bristles that won't absorb product
- Professional technique: Pat (don't swipe) concealer onto areas that need coverage, then blend edges with minimal pressure
2. Small Fluffy Concealer Brush
Features a small, tapered head with soft, slightly less dense bristles.
- Best for: Under-eye concealer application and blending
- Ideal materials: Soft synthetic fibers
- Professional technique: Use in gentle patting and small circular motions to blend concealer without disturbing foundation underneath
Powder Brushes: Setting and Perfecting
1. Large Powder Brush
A large, fluffy brush with a dome or slightly tapered shape.
- Best for: Applying loose and pressed powders across larger areas of the face
- Ideal materials: Natural bristles (goat, squirrel) or high-quality synthetic alternatives
- Professional technique: Use in sweeping or pressing motions depending on desired coverage level
2. Tapered Highlighting Brush
Features a medium-sized, tapered head that comes to a soft point.
- Best for: Precisely applying powder highlighter to high points of the face
- Ideal materials: Softer natural bristles or high-quality synthetic
- Professional technique: Use the tapered point to apply product precisely, then blend with the sides of the brush
3. Fan Brush
A thin, fan-shaped brush with spread-out bristles.
- Best for: Very light application of powder products, removing fallout, and applying highlighter
- Ideal materials: Natural bristles or synthetic-natural blend
- Professional technique: Sweep lightly across high points for a subtle glow, or use to dust away eyeshadow fallout without disrupting foundation
Cheek Brushes: Sculpting and Adding Dimension
1. Angled Contour Brush
Features an angled head with dense bristles.
- Best for: Applying contour powder or cream in the hollows of cheeks and along jawline
- Ideal materials: Natural-synthetic blend for powders, dense synthetic for creams
- Professional technique: Use the angle to follow the natural contours of the face, blending upward to avoid harsh lines
2. Blush Brush
Medium-sized with a dome shape and medium density.
- Best for: Applying powder blush to the apples of cheeks and blending toward temples
- Ideal materials: Natural bristles (goat, squirrel) or quality synthetic alternatives
- Professional technique: Tap off excess product and apply using circular motions, gradually building color
3. Stippling Brush
Features dual-fiber bristles with longer, more sparse black fibers over a dense white base.
- Best for: Applying and blending cream blush, highlighter, and bronzer
- Ideal materials: Dual-fiber synthetic
- Professional technique: Use in a stippling (bouncing) motion to deposit product, then small circular motions to blend
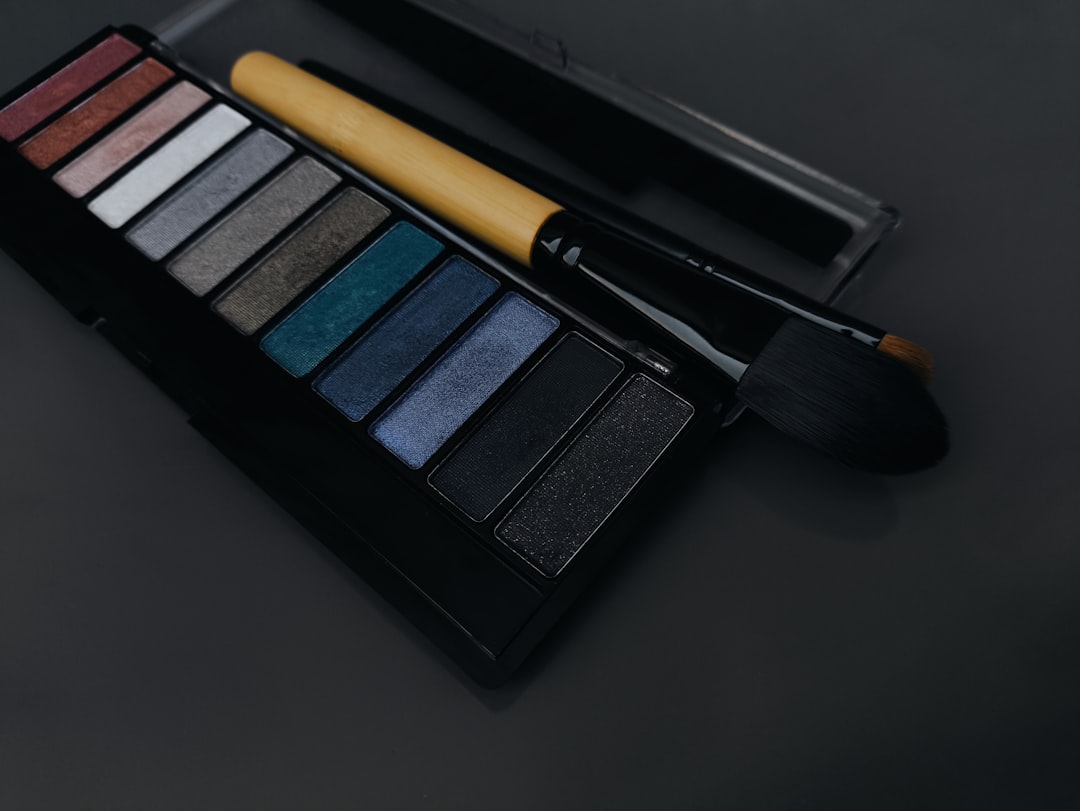
Eye Brushes: Creating Depth and Definition
1. Flat Shader Brush
Short, dense, flat-topped brush with a slightly rounded edge.
- Best for: Packing eyeshadow onto the lid
- Ideal materials: Natural bristles (squirrel, goat) for powders, synthetic for creams
- Professional technique: Press and pat shadow onto the lid rather than sweeping to maximize color payoff
2. Fluffy Blending Brush
Soft, fluffy brush with a tapered or dome shape.
- Best for: Blending eyeshadow in the crease and softening transitions between colors
- Ideal materials: Natural bristles (squirrel, goat) or high-quality synthetic
- Professional technique: Use in windshield-wiper or small circular motions with light pressure
3. Pencil Brush
Small, precisely tapered brush that comes to a point.
- Best for: Precise application in the outer corner, lower lash line, and inner corner highlight
- Ideal materials: Natural or synthetic bristles with some firmness for control
- Professional technique: Use the point for precise application, then the sides for subtle blending
4. Angled Liner Brush
Thin, angled brush with firm bristles.
- Best for: Creating precise gel or powder eyeliner, filling in brows
- Ideal materials: Firm synthetic bristles
- Professional technique: For eyeliner, use the edge to stamp along the lash line, then connect with short strokes
5. Spoolie Brush
Looks like a clean mascara wand.
- Best for: Grooming and blending brow products, separating lashes
- Professional technique: Brush through brows before and after product application to ensure natural distribution
Lip Brushes: Precision and Polish
1. Retractable Lip Brush
Small, firm, precisely shaped brush that can be retracted into its handle.
- Best for: Precise application of lipstick, particularly for defining the lip line
- Ideal materials: Synthetic bristles that won't absorb oils from lip products
- Professional technique: Use the tip to define the lip line, then fill in with the flat side
- Pro tip: Retractable versions protect the bristles and allow for hygienic on-the-go touch-ups
Specialty Brushes Worth Considering
1. Kabuki Brush
Short-handled brush with very dense, dome-shaped bristles.
- Best for: Buffing and blending mineral foundation, applying bronzer
- Ideal materials: Dense synthetic or synthetic-natural blend
- Professional technique: Use in circular buffing motions for an airbrushed finish
2. Cream Contour Brush
Medium-sized, dense brush with a flat, angled edge.
- Best for: Applying and blending cream contour products
- Ideal materials: Dense synthetic bristles
- Professional technique: Apply with the flat edge, then blend using the angled side
Caring for Your Professional Brush Collection
Professional-quality brushes are an investment that, with proper care, can last for years. Here are our essential brush care tips:
Regular Cleaning
- Spot clean between clients using a quick-drying brush cleaner spray
- Deep clean weekly using gentle shampoo or specialized brush cleanser
- Always reshape brushes while damp and allow to dry horizontally or with bristles pointing downward
Storage
- Store brushes in a brush belt, standing upright in a container, or in a protective case
- Avoid storing in airtight containers when damp to prevent mildew
- Consider brush guards for maintaining shape during travel
Building Your Professional Kit: Quality vs. Quantity
When building your professional kit, focus on quality over quantity, especially for foundational brushes you'll use daily. Consider these factors when investing in brushes:
- Craftsmanship: Look for seamless ferrules (the metal part connecting bristles to handle), secure bristles, and balanced weight
- Materials: Choose appropriate materials for each brush's purpose
- Versatility: Some brushes can multitask effectively (e.g., a tapered highlighting brush can also work for precise powder application)
- Brand reputation: Research brands known for durability and performance among professionals
Remember that while some luxury brushes are worth the investment, there are excellent mid-range options available as well. Consider investing in premium versions of your most-used brushes while selecting quality mid-range options for specialty brushes used less frequently.
Final Thoughts
The right brushes transform both the application process and the final result of makeup. As professional visagistes, our brush collection is our most important tool set. By understanding the purpose of each brush, selecting appropriate materials, and implementing professional techniques, you can elevate your makeup application to truly professional standards.
Whether you're a budding makeup artist or a seasoned professional looking to refine your kit, focus on building a versatile collection of high-quality brushes that will serve you well across a variety of clients and techniques.